spring wreath

P1030319

It’s starting to warm up here in Houston. Anyone who’s lived in Houston for a good amount of time knows that the end of February/early March usually means “experience all four seasons in one week” time of year. Not exaggerating, we’ve had low 40’s-mid 80’s in the past 7 days. This morning was beautiful, and the hubs and I went on a short run to get out in it. Well, I am sad to see the cooler weather go, but I’m excited about the Spring, and I hung my Spring wreath yesterday in honor of the mid-70’s. :) This wreath was incredibly easy, so there’s a possibility that I might also make an “Easter” wreath when that time comes around. We shall see.

This wreath I made using an embroidery hoop for the base. It actually worked out well because the hoop I used had a pretty thick wooden side where the “collar” is. I hot glued the thick ends of the greenery I used onto that wooden collar, which just gave it a more secure hold.

I used twine to hang it, so I started out by hot gluing the twine to the hoop, wrapping it several times. The very last time I made a little knot through the top piece so that the end would be secure and in the middle of the hoop’s width.

P1030289

Next, I simply hot glued the main stem of the greenery onto the hoop. I didn’t glue any of the other stems branching off of the main one because I wanted it to be loose and flowy. It’s not very heavy, so I’m not too worried about the hold.

P1030294

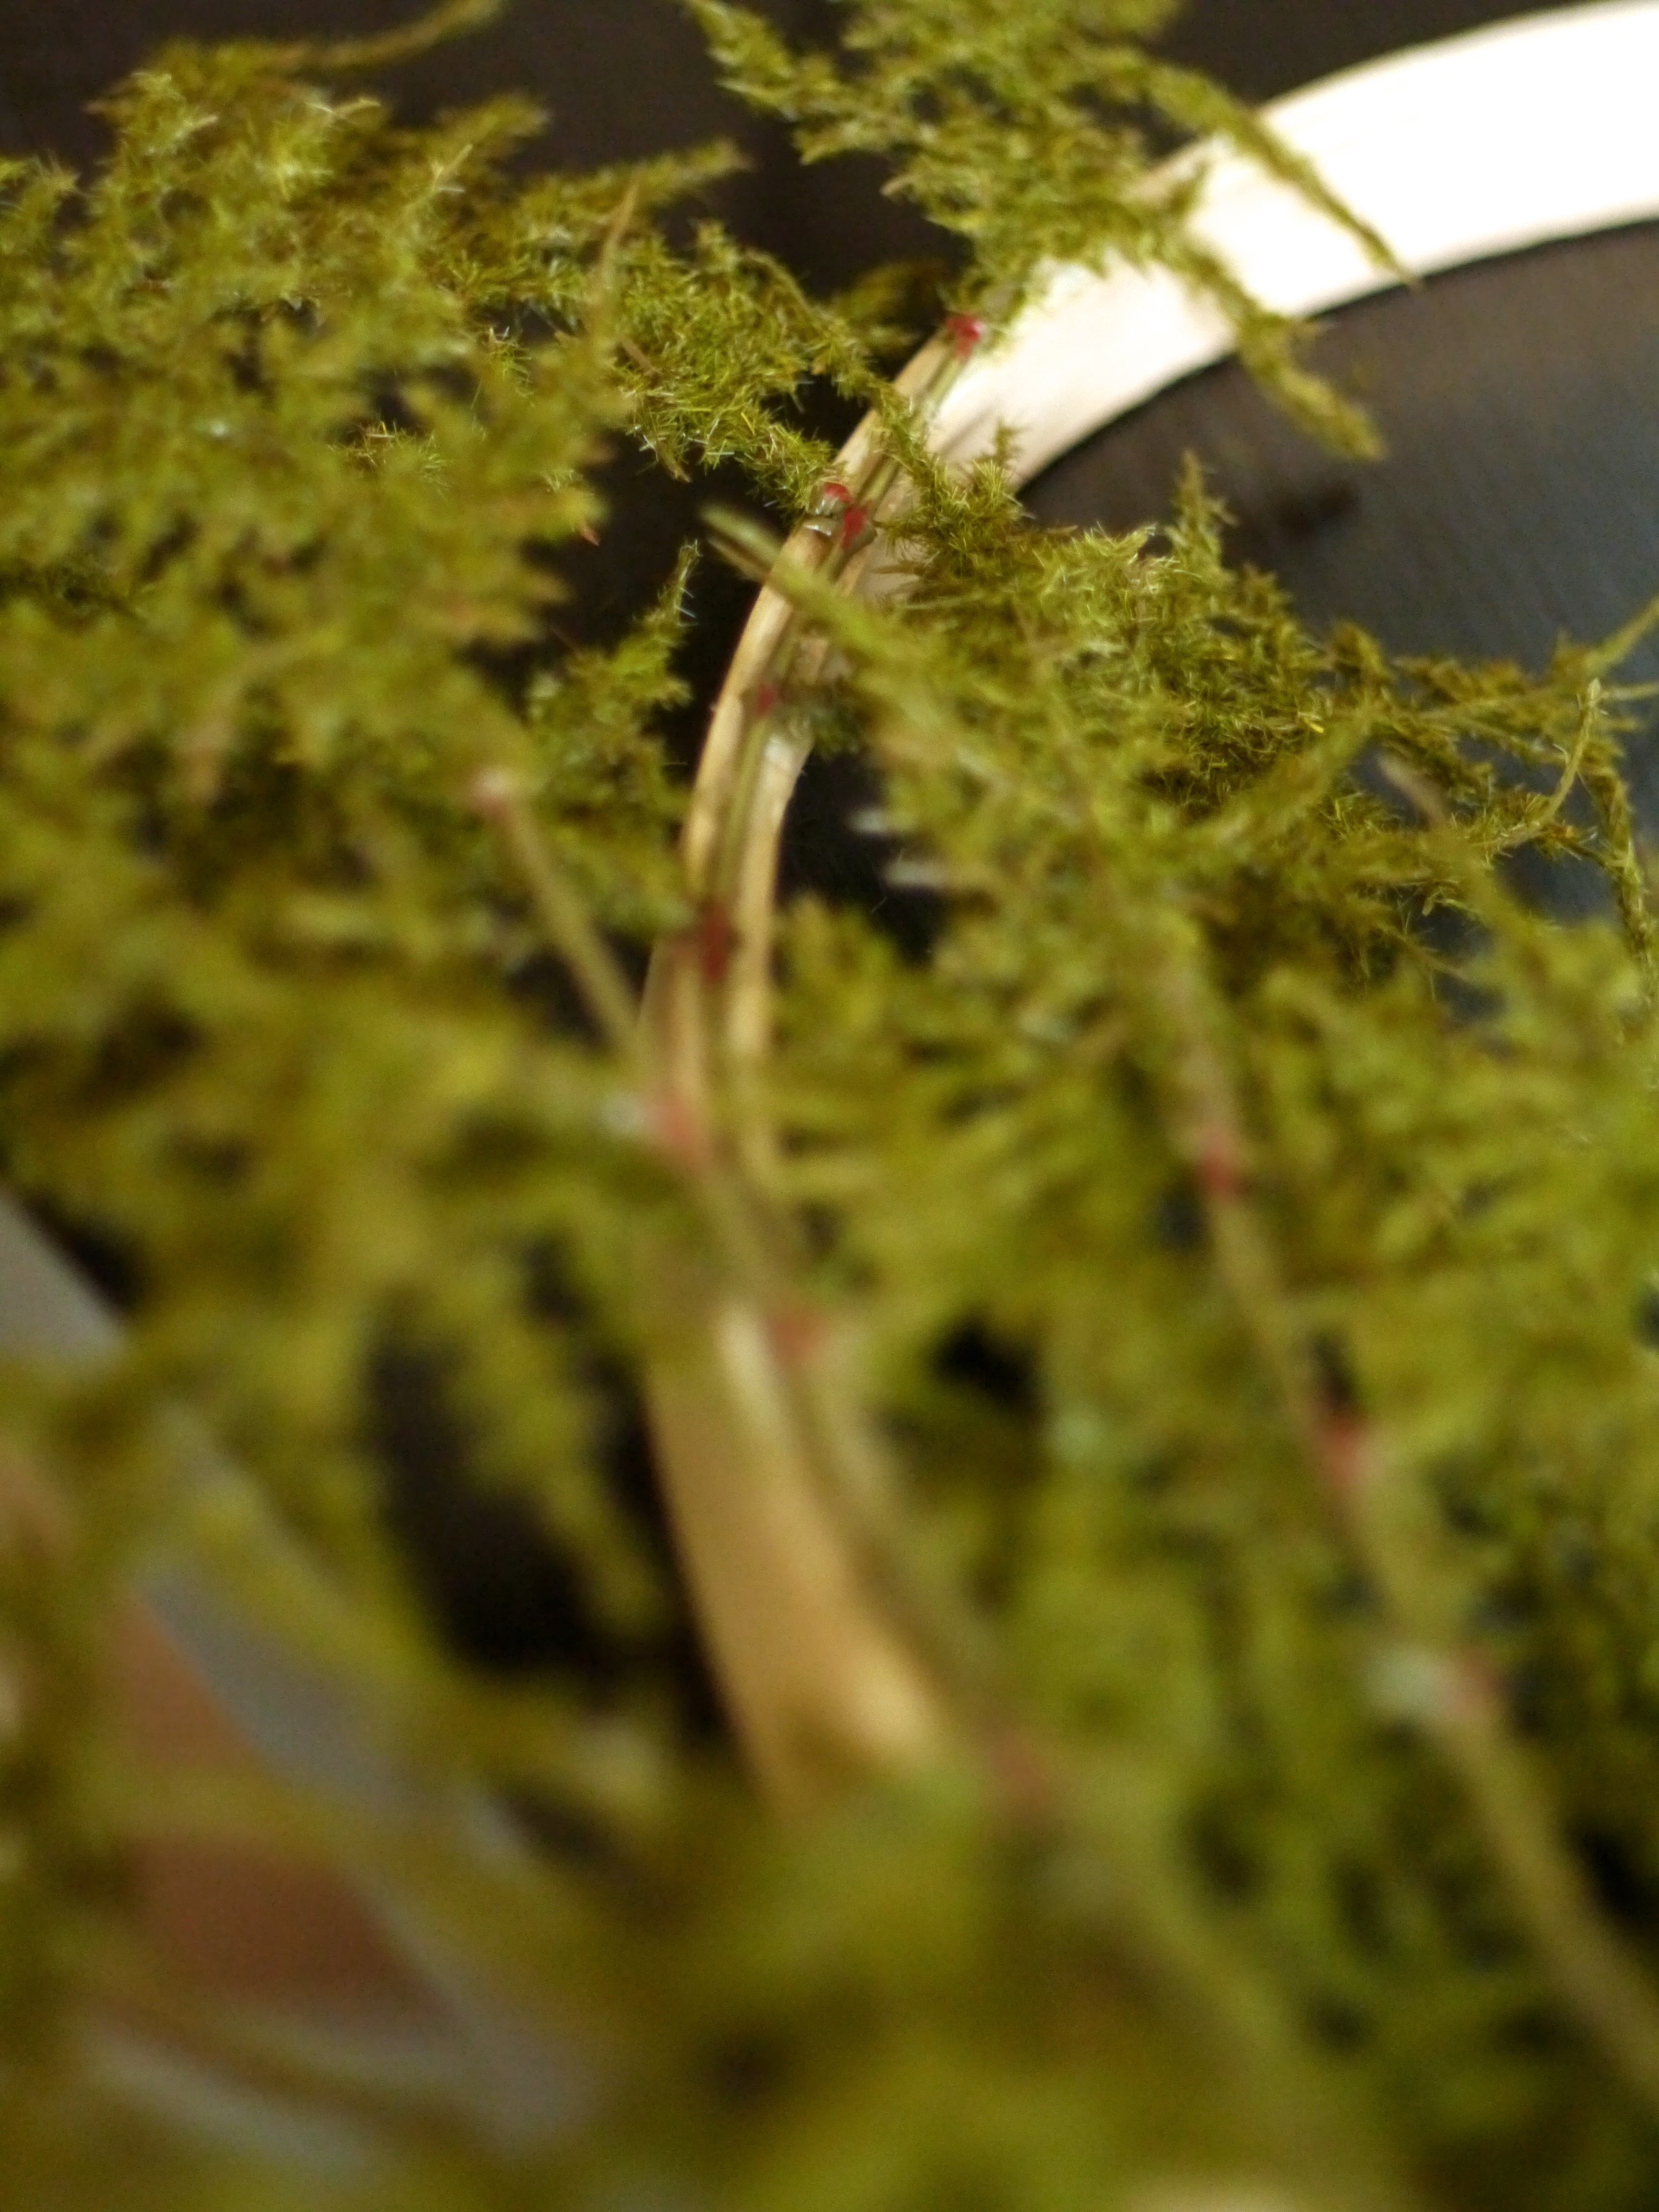
As I said before, I glued the thick parts of the “branches” onto the collar of the hoop, ensuring extra hold.

P1030297

Now, for the flowers, since I made them on floral wire (using this tutorial), I simply wrapped the wire around the hoop, no hot glue involved. I did this on purpose because I might want to use these flowers again for another project. Easy to put on, and easy to take back off.

P1030298

That’s it! This wreath is so easy and customizable. Since the flowers are not permanent, I might even add more colors or different kinds of flowers. Who knows… it mostly depends on how busy the next few weekends are. :)

P1030317

Hope you enjoy this weather (if you’re in the south), and have a great weekend! Learn something new today. :)

fresh air

This weekend, my hubs and I set out to a campsite for a mini getaway. There are few things I enjoy more than being outdoors with the smell of a campfire, and a cup of coffee in one hand and book in the other. And that’s a lot of what my weekend consisted of (thank you, Jesus). The weather was absolutely gorgeous. We got pretty chilly at night time (literally, I brought 8 blankets and we used all of them), but during the day it was so perfect. Here are a few pics for you to enjoy. As always, I’ll put all of them on Facebook and link it here, but here are the highlights.

DSC_0566the hubs setting up our home for the weekend

DSC_0583I have no idea why we look so drowsy, but we were very excited to be there

DSC_0585 a little stroll by the lake before dinner

DSC_0629

DSC_0649this

DSC_0665

DSC_0705

DSC_0725

P1030229

The week before our trip, we discovered that our friends, KJ and Elise were also camping this weekend at the same campsite! So, they invited us over for dinner and we brought dessert. So fun. Their view was also incredible… right next to the lake!

DSC_0745

DSC_0753I mean, check out this sunset. There is no editing on this pic.

Ok, so this is the story of my life. Like I said, we decided to bring dessert over on Saturday night since KJ and Elise were making dinner for us. I found this brilliant idea on Pinterest for these campfire chocolate cakes baked in orange peels. Well, I clearly filled them up with way too much cake batter, and we enjoyed a 20 min show of the mini cakes exploding with oozing chocolate, like a volcano. That top one in the picture was shooting straight out, horizontally. They did turn out delicious, but looked horrible, and we ended up eating them right out of the campfire because they were too hot to pick up. But we had some great entertainment, and I haven’t laughed that hard in forever. You could probably find this under a Pinterest Fails blog somewhere. Keep an eye out.

P1030246

This weekend my parents also came into Houston to volunteer at Passion 2014. They stayed at our place while we went camping, so we didn’t see them much over the time of their visit. We met up with them for lunch on their way out yesterday, which was a fun time of sharing stories from both our weekends. Aren’t they the cutest?

DSC_0771

And I leave you with this picture of fire, because it looks crayzay.

P1030280

I’ve been reading through C.S. Lewis’ “The Problem of Pain.” And it has been blowing my mind. I don’t know why I have not ready this up until now, but I’m glad I am. By the time I’m done I’ll probably have actually read it 3 times through, as I’ve been taking it slowly and rereading almost every paragraph multiple times. Packed with so much good. One thing that has really stuck with me a few chapters back is this. Sorry it’s a bit long, but it is worth the read:

“We were made not primarily that we may love God (though we were made for that too) but that God may love us, that we may become objects in which the Divine love may rest ‘well pleased’. To ask that God’s love should be content with us as we are is to ask that God should cease be God: because He is what He is, His love must, in the nature of things, be impeded and repelled by certain stains in our present character, and because He already loves us He must labour to make us lovable.

My prayer for myself and for you is that we know God’s love as it really is, and that we do not fight Him or label Him as cruel in His making us lovable. It is good, and we are better for it. So thankful.

Enjoy your week! I hope you get to go on an adventure, even if it’s just a weekend away camping. Just unplug and recharge, and rest in Him!

arts & crafts

P1030154

This weekend I got to hang out with one of my dear friends, Julielle (check out her website!). She is prepping for an art show she’ll be hosting in March, and she’s working tirelessly to get some fantastic art finished and available for purchase. If you are in Houston that weekend you should most definitely attend. It’s going to be a fabulous event, and there will be snacks and live music, and of course, great art! You can find all the details here.

P1030149

While Julielle was working on her art, I worked on some paper flowers that I’m going to use on my Spring wreath. These things have taken me so much longer than I think they should have, haha. I’m kind of a perfectionist, so naturally, everything takes me a bit longer than it probably should. I now have 9 of them finished, and seeing how I won’t be hanging a Spring wreath for a couple more weeks, they are on my kitchen table in a mason jar, doubling as a Valentine’s bouquet. Kinda convenient.

P1030136

I got the tutorial for these super cute anemones here. The blog also has a few other different kinds of flower tutorials, so I might try out more types and mix them together for the wreath. I’ll post a pic once it’s finished. :)

I hope you have a wonderful Valentine’s Day! The hubs and I are going camping this weekend, so you can count on pics from our trip on the blog next week. Stay warm, and get your craft on!

scarf camera strap tutorial (DIY)

DSC_0545

This weekend I had the thought to make a strap for my camera. I have some fabric that I could work with, but then I remembered that I had this gift card to Charming Charlie that expired on Jan 31. My hubs bought some Christmas gift cards for family members from that store, and because he spent a certain amount, they gave us a free $10 gift card. I’m not one to wear jewelry… it’s not that I don’t like it, I just always forget about it and it’s seems to me a tedious thing to keep up with, so buying jewelry is kind of just wasting money, as it will sit nicely in my jewelry box and rarely get used. I ventured in anyway, and lucky for me they also sell scarves! I then thought, “hmm… camera strap made out of a scarf.” Thanks, Charlie, for the free strap!

Confession: I’m generally a rule follower in most areas of life, but every once in a while I like to do things on a whim. When it comes to patterns, I get frustrated pretty quickly with all the rules and measurements, so I kind of don’t follow them, and just try to figure out what I’m doing as I’m going. For all you anti-pattern friends of mine, here’s a little tutorial if you’d like to try it out yourself.

What you’ll need: scarf, heavy thread, scrap of leather, 2 swivel fasteners, thick leather needle, thimble, and if the hooks are too big for your camera, small keychain type loops to connect the fasteners to the camera.

P1030114


First start out by measuring the length of your scarf. I compared it to the strap that came with my camera, which ended up being about 42in. You can make it shorter or longer depending on the desired length of your strap.

DSC_0516


Next, measure the length of the inside of your swivel fastener (not the outside, or else the leather won’t fit right). Draw the shape you want your leather to be, and trace it onto the leather twice, mirroring itself, with the small sides touching. The small side will be the length of the inside of the fastener you just measured. Then, cut the leather pieces out.


P1030115


P1030117


DSC_0523


Note: I’m gonna be straight here… hand-sewing leather is one of the most unpredictably difficult things ever. I broke a thick, leather needle in half, people. Broke it in half. If you have a sewing machine that can handle leather, that is so much better. But if you don’t, I just want you to know going into this project that it will take a long while, and you might stab yourself a lot and have sore fingers by the end of it. I got through half of a Lord of the Rings movie before I was done. Yep.

Next, insert the leather pieces through the fastener hoops and fold them in half. Bunch up the scarf ends, lay them in between the two sides of the leather, and pin in place.

P1030124


Sew around the edges first, forming a square, and then stitch and X shape in the middle for extra hold.

P1030129


P1030131


And that’s it! You’ve now got yourself a super cute, super easy (besides the leather madness), customized, handmade scarf strap!

DSC_0543

Don’t forget to share if you give it a try!