advent

Greetings, after a long, unplanned hiatus. :) The past several months have gone by so much faster and were so much fuller than I expected, but in a good way. Lots has happened since July, but I don’t have time to tell you about that now. You can check all of that out in our Christmas letter that I’ll post soon. For now, I have a super fun advent project I’d like to share with you. If you haven’t prepped for advent or have never walked through December in this way, I encourage you to do so! It’s an incredible way to remember God’s promises from the Old Testament into the New, and what the anticipation of the Messiah means for us. If you want an advent guide and don’t know where to start, I recommend this study, Sacred Christmas, written by a friend of mine who you will just love. You’ll be a little bit behind as advent starts on Sunday, but it’s still worth it.

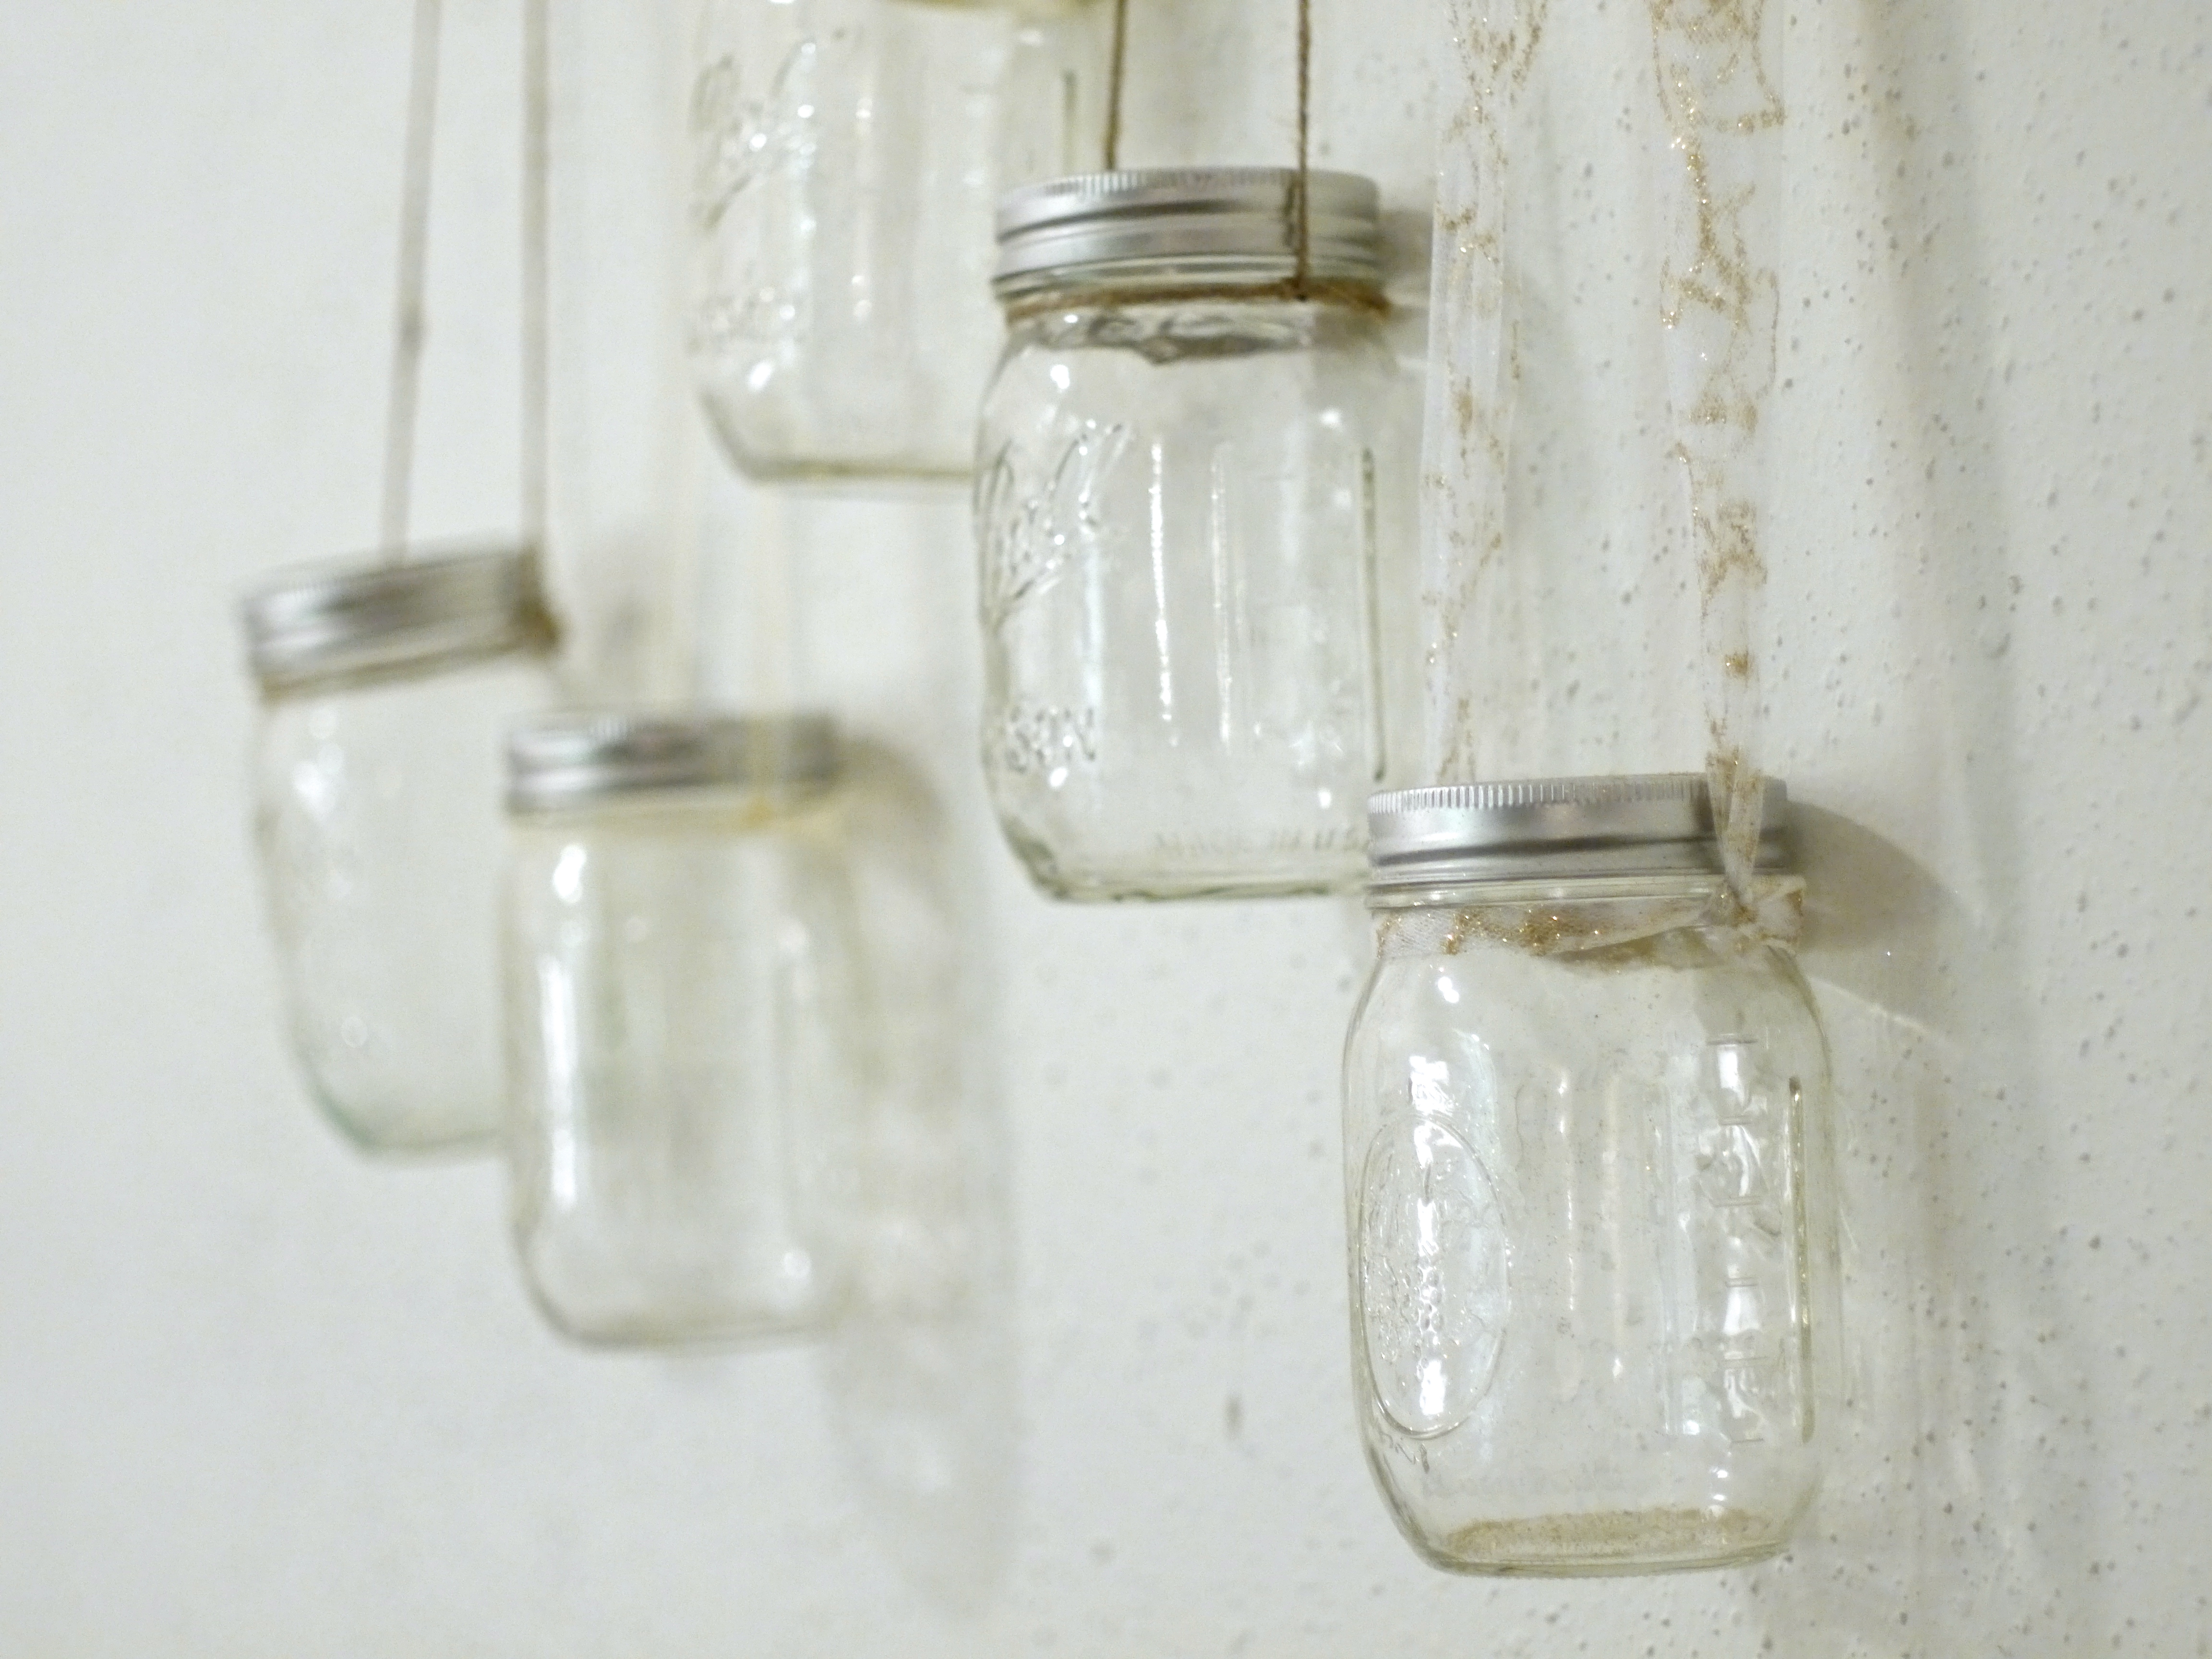
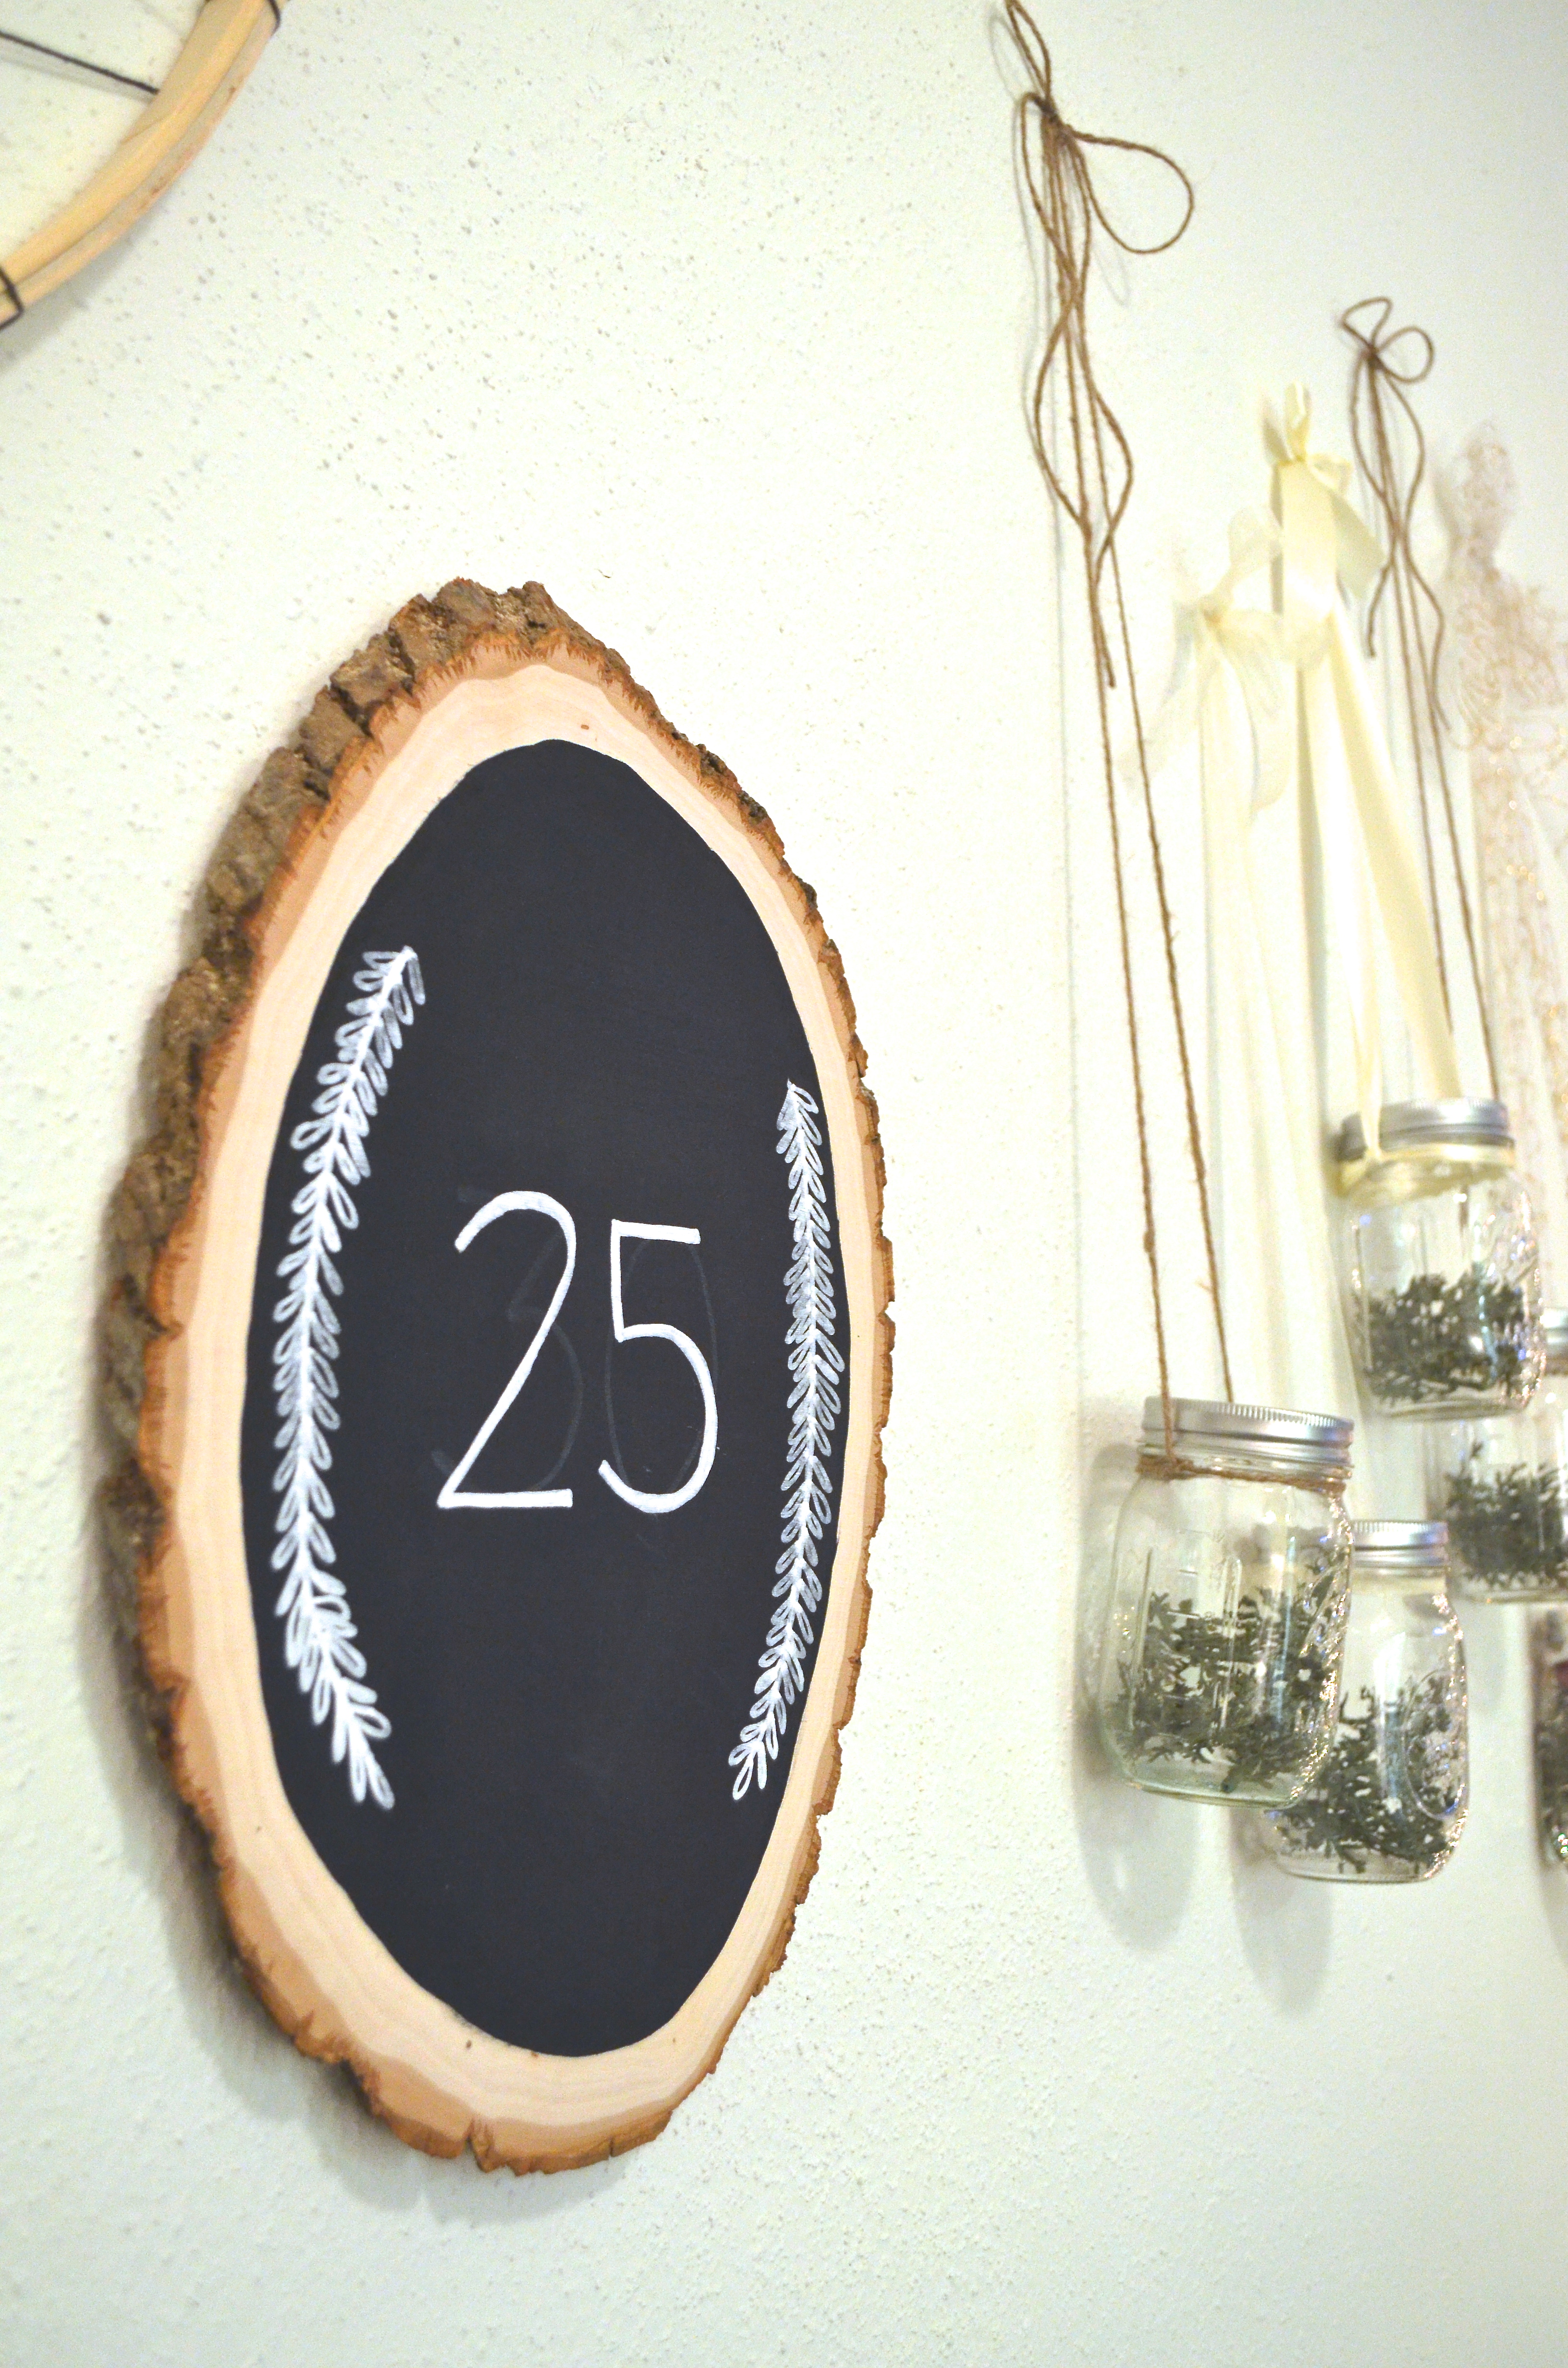
I’ve never done the advent candles before, but I love symbolism, so I decided to put together some candle jars this year. I’m not finished with them yet because I need to go buy some small floating candles that will fit in the mason jars. When finished, they’ll have some greenery and cranberries floating around with the candles.

P1040111

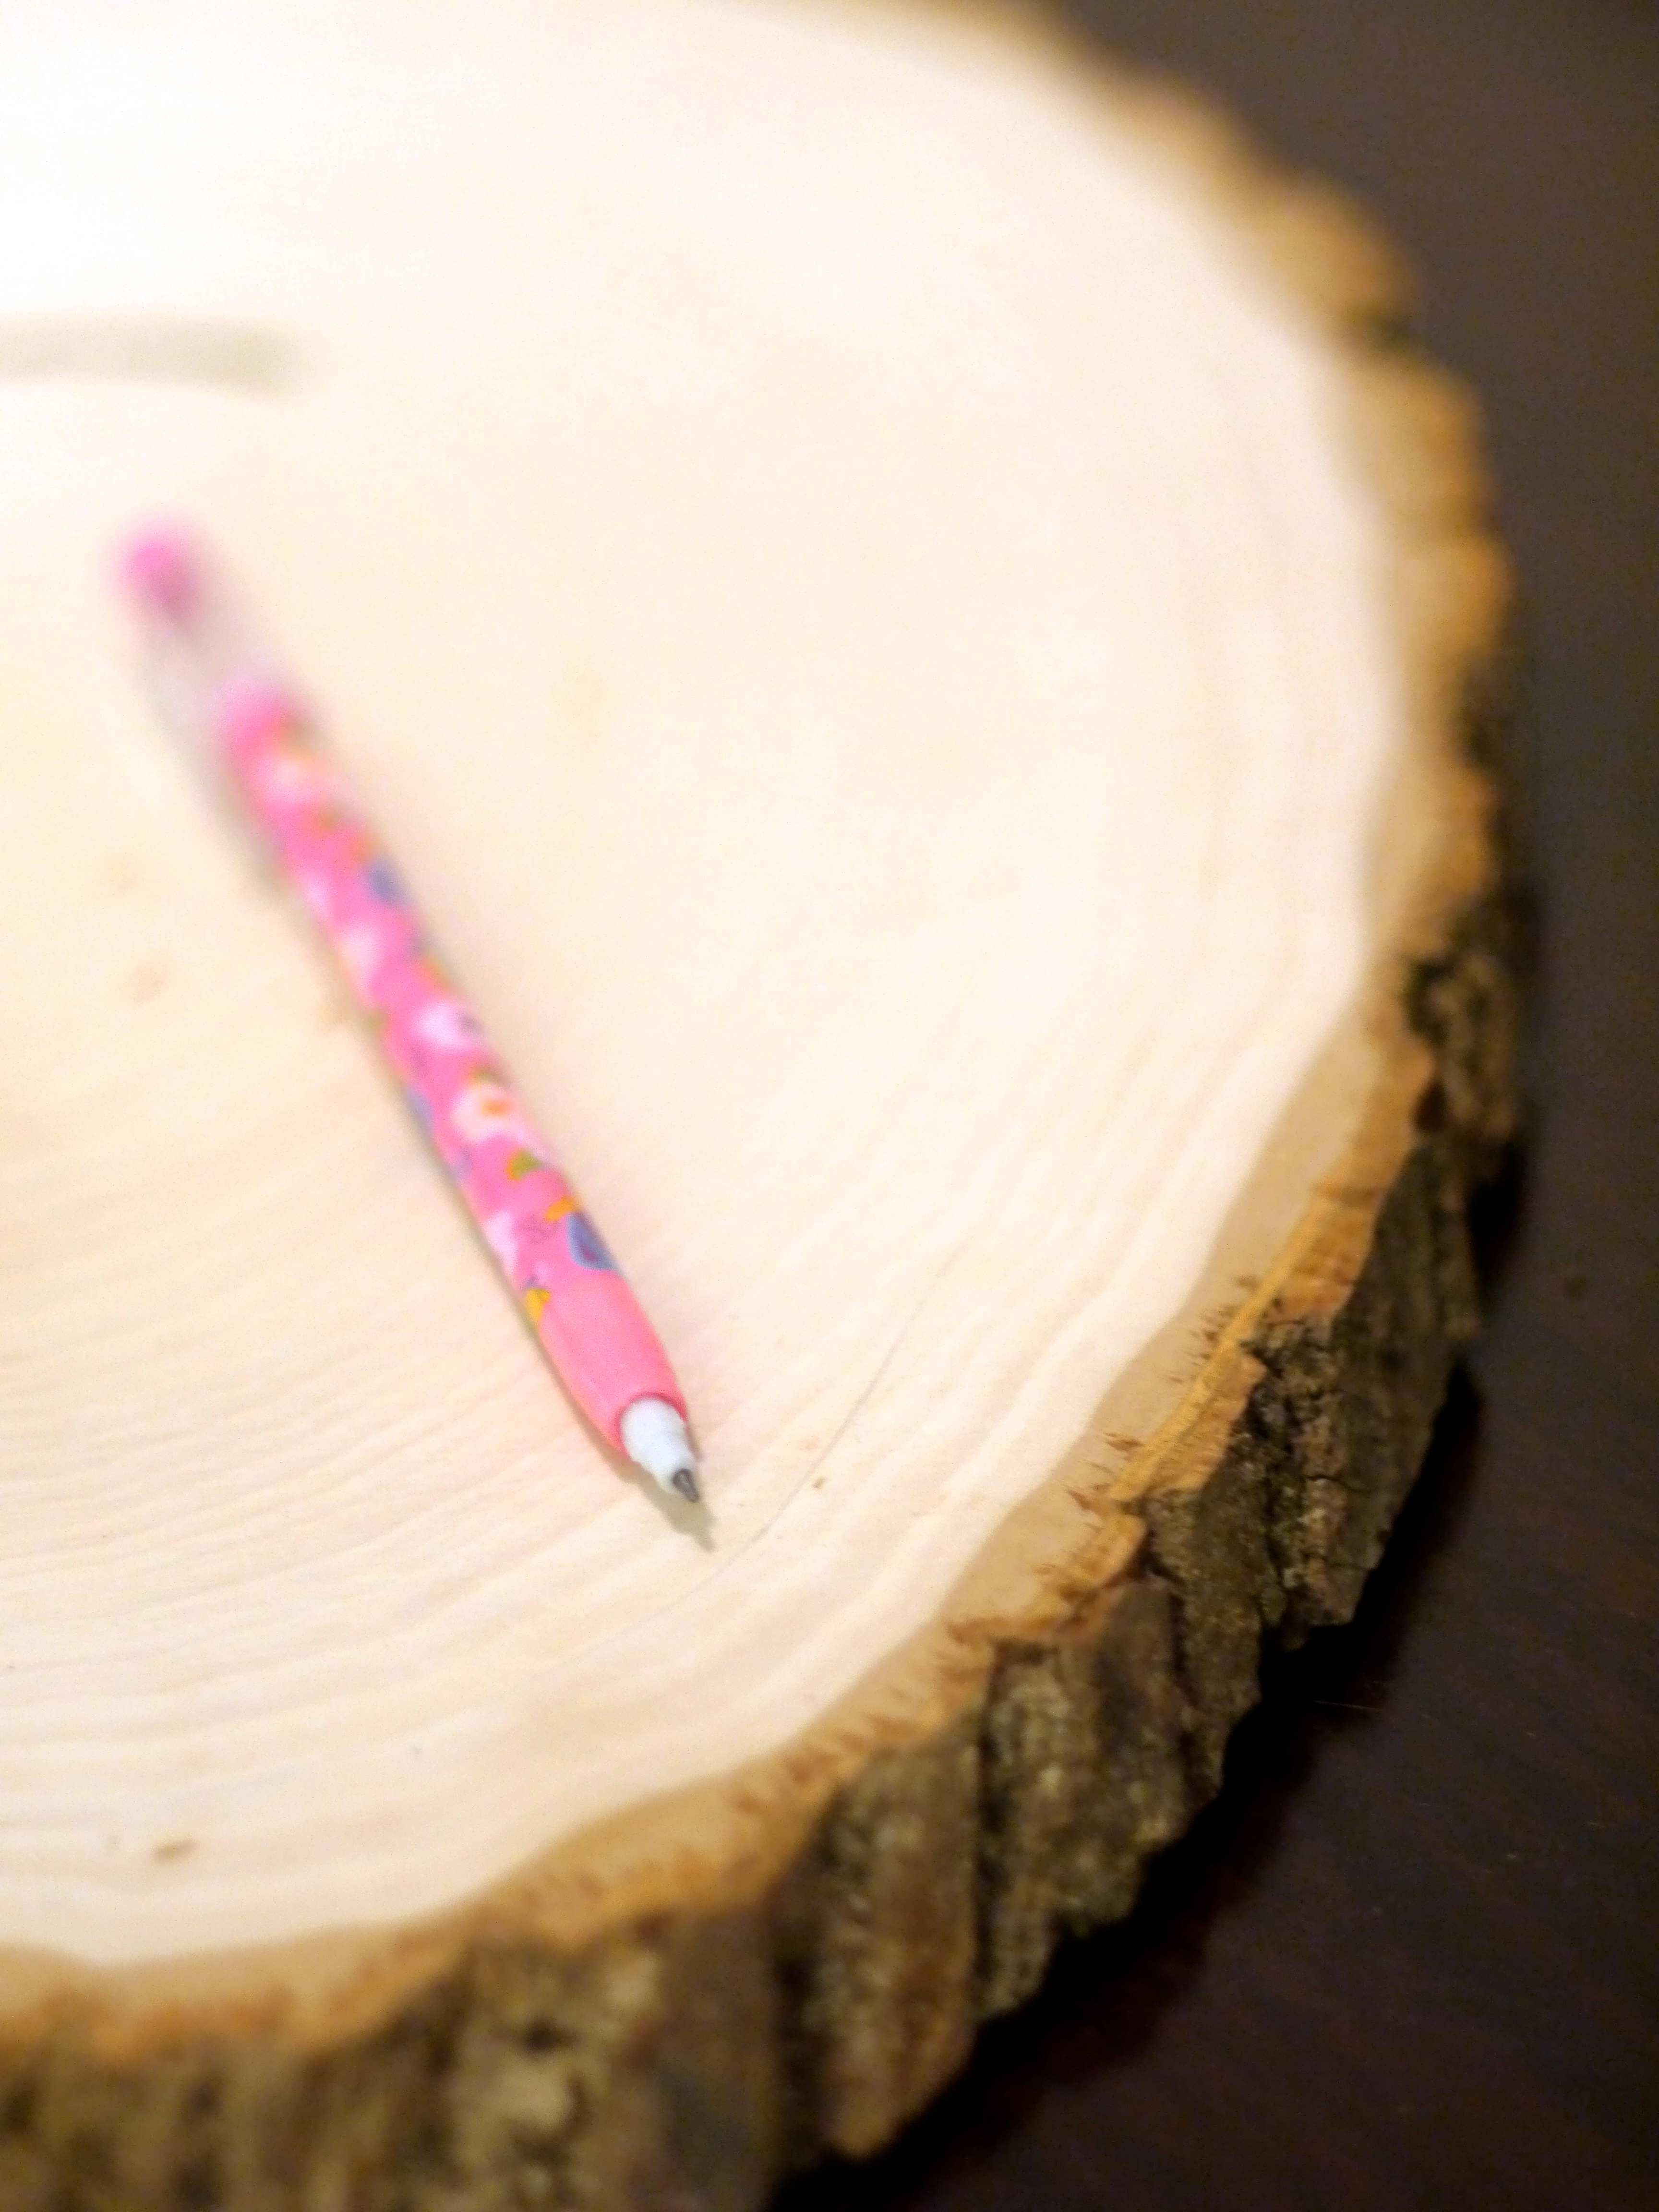
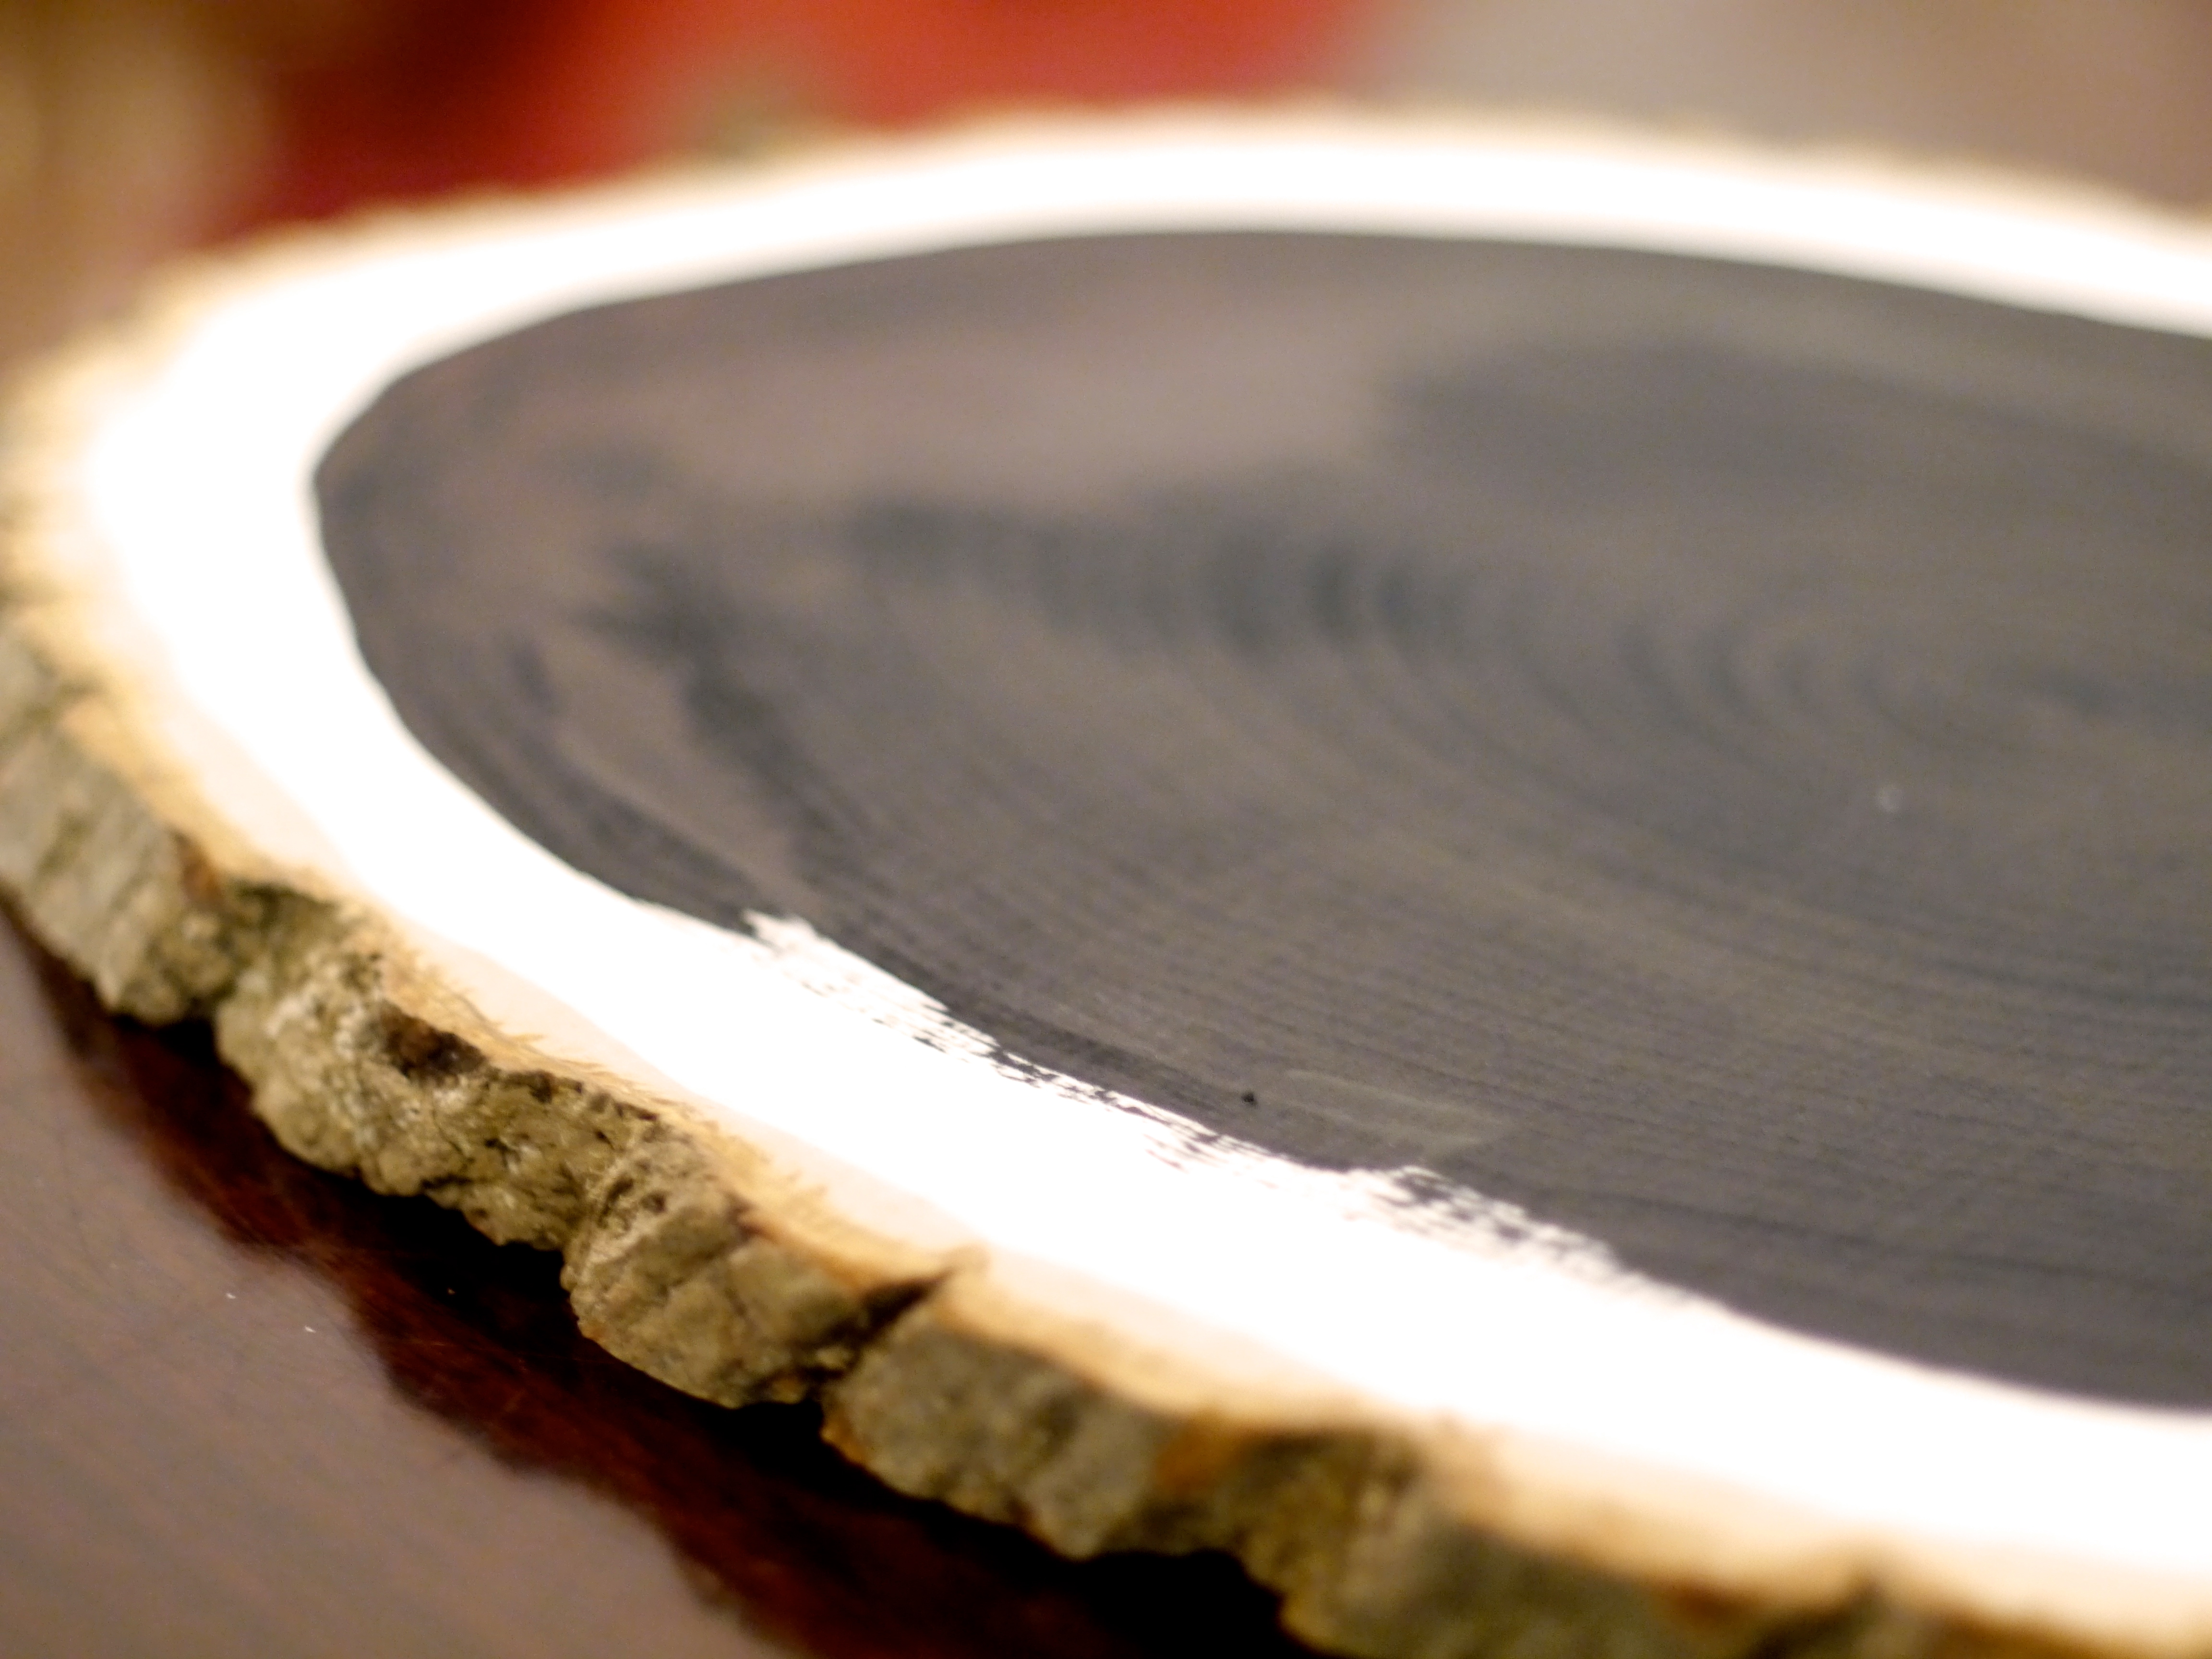
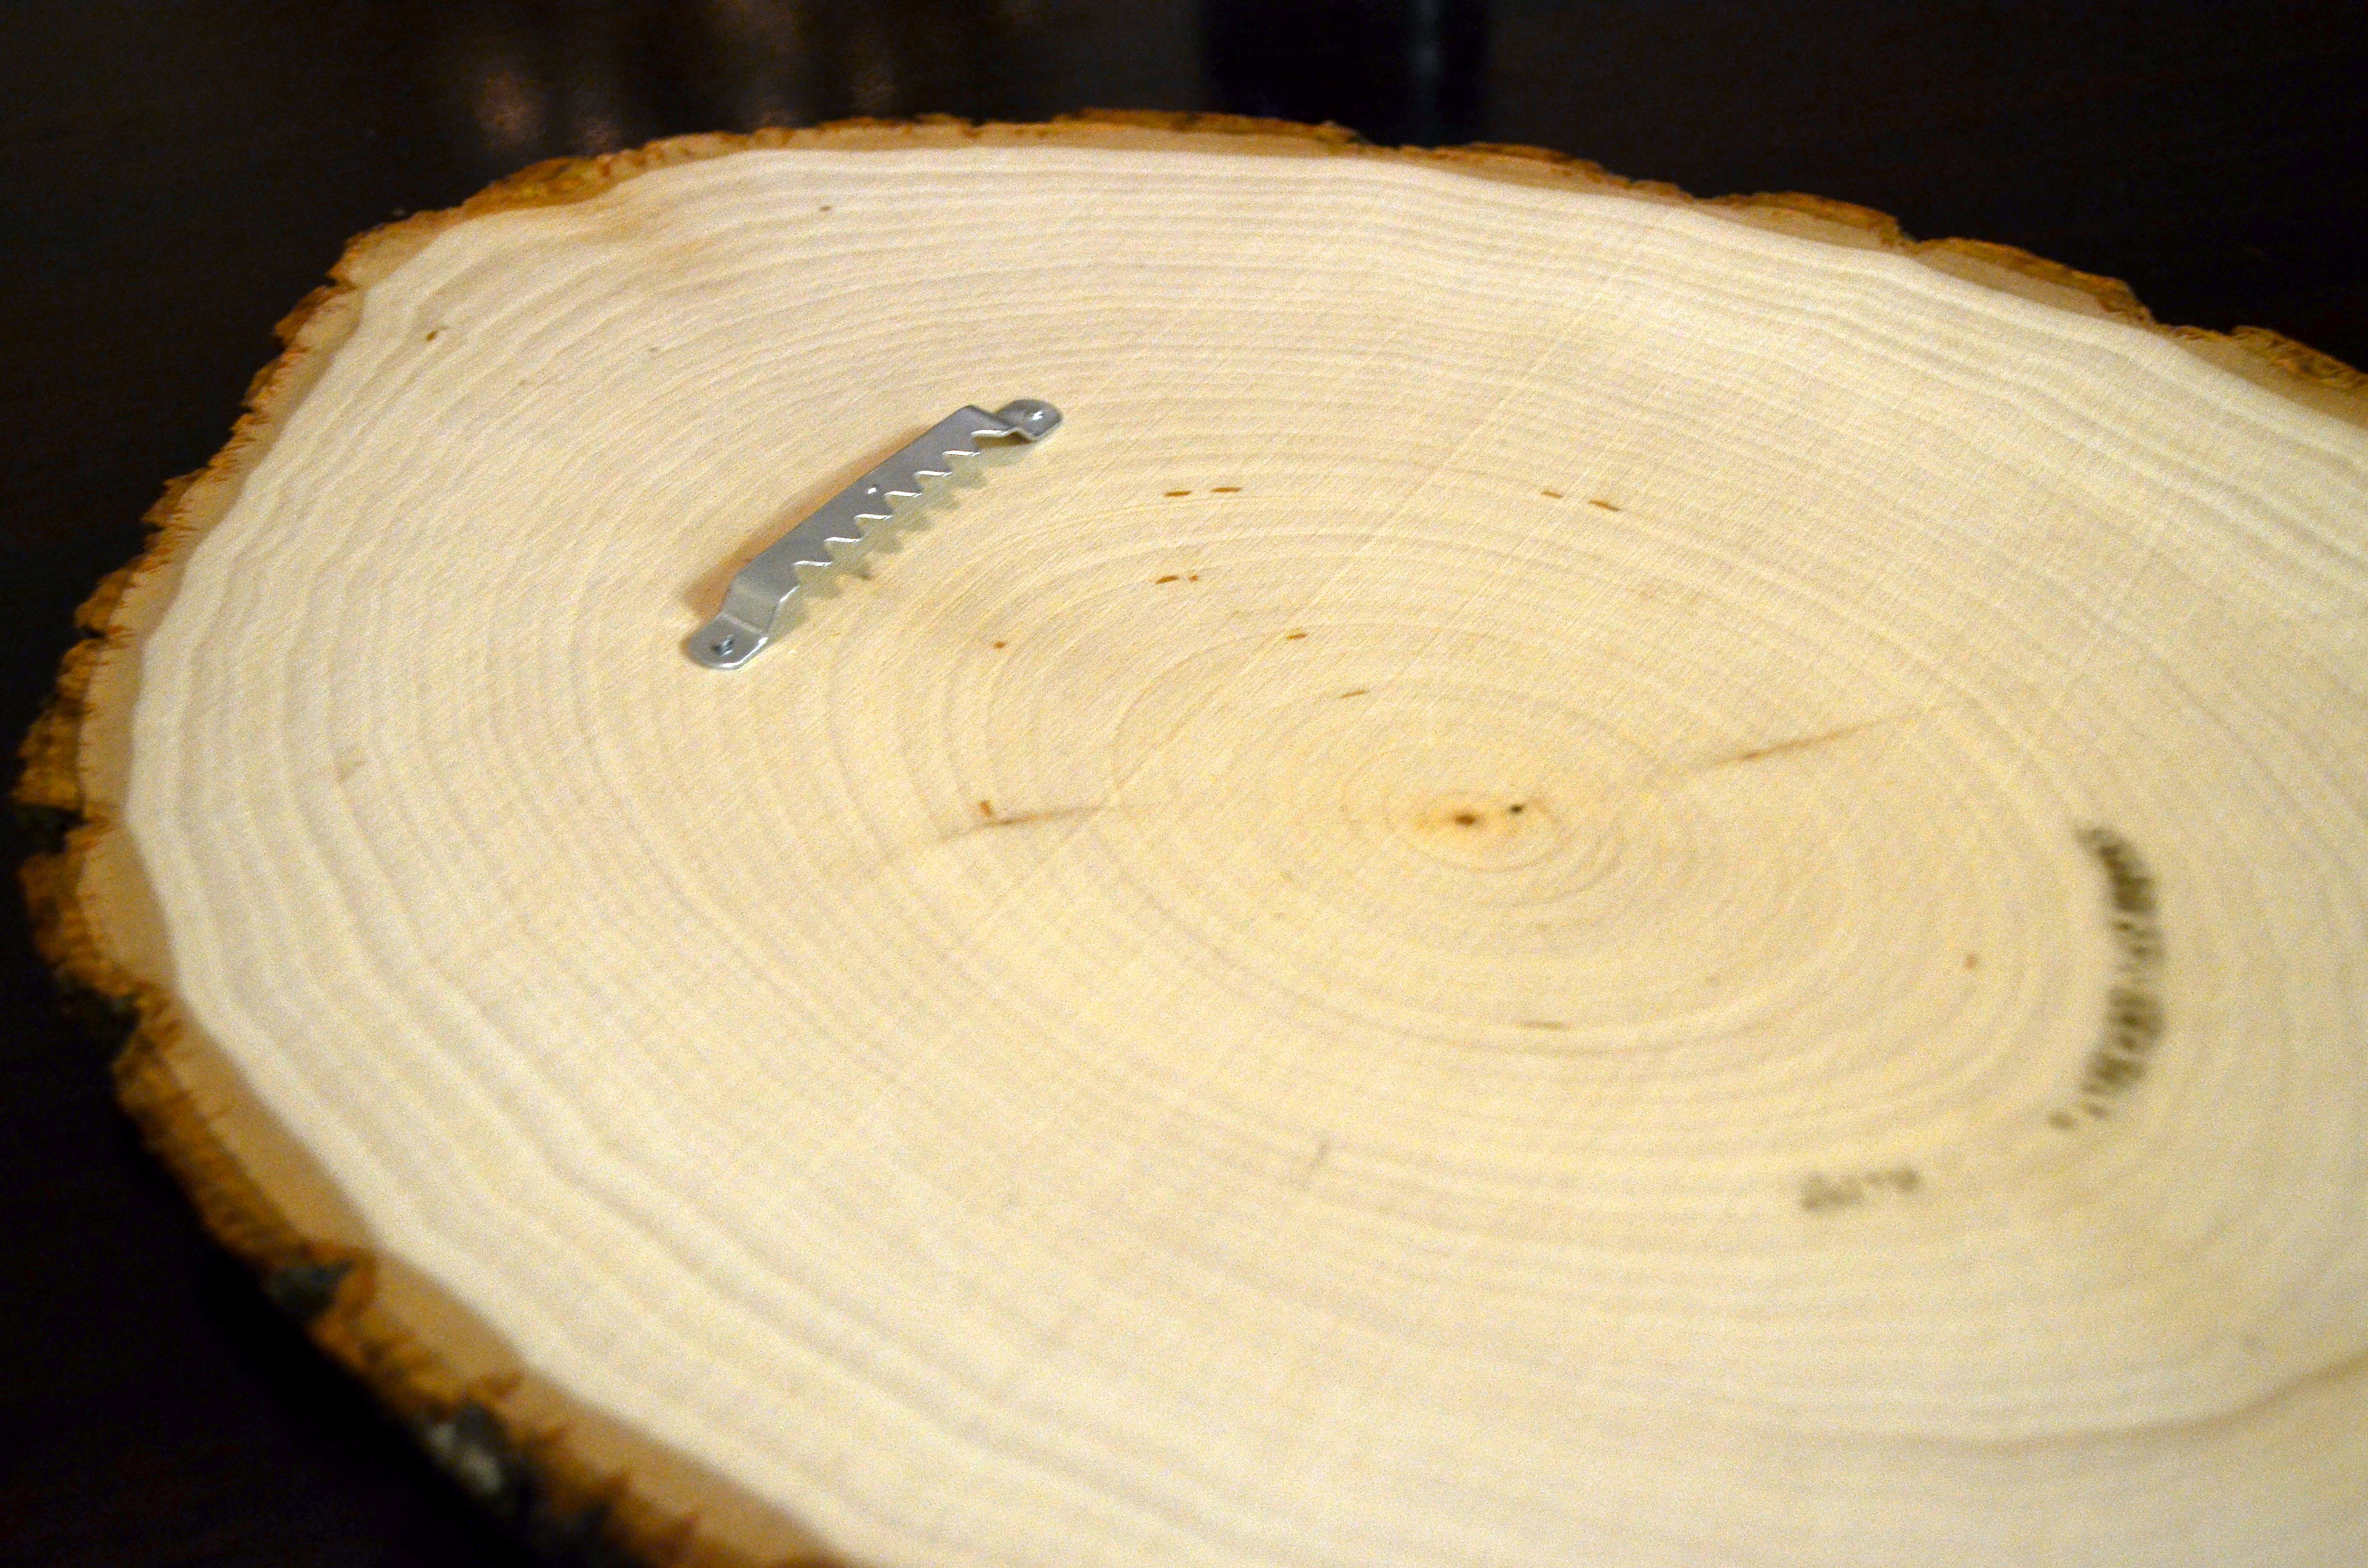
Next, I wanted to make a countdown ’til Christmas calendar. I found this super cool piece of wood at Hobby Lobby of all places. Decided to apply some chalkboard paint to it, which, I mean, just makes everything so much better.

P1040092Also, pink pencil.

P1040093


Since the wooden piece was basically just a slice of stump, I nailed a sawtooth hanger onto the back.

DSC_0187


DSC_0204


DSC_0200


DSC_0192


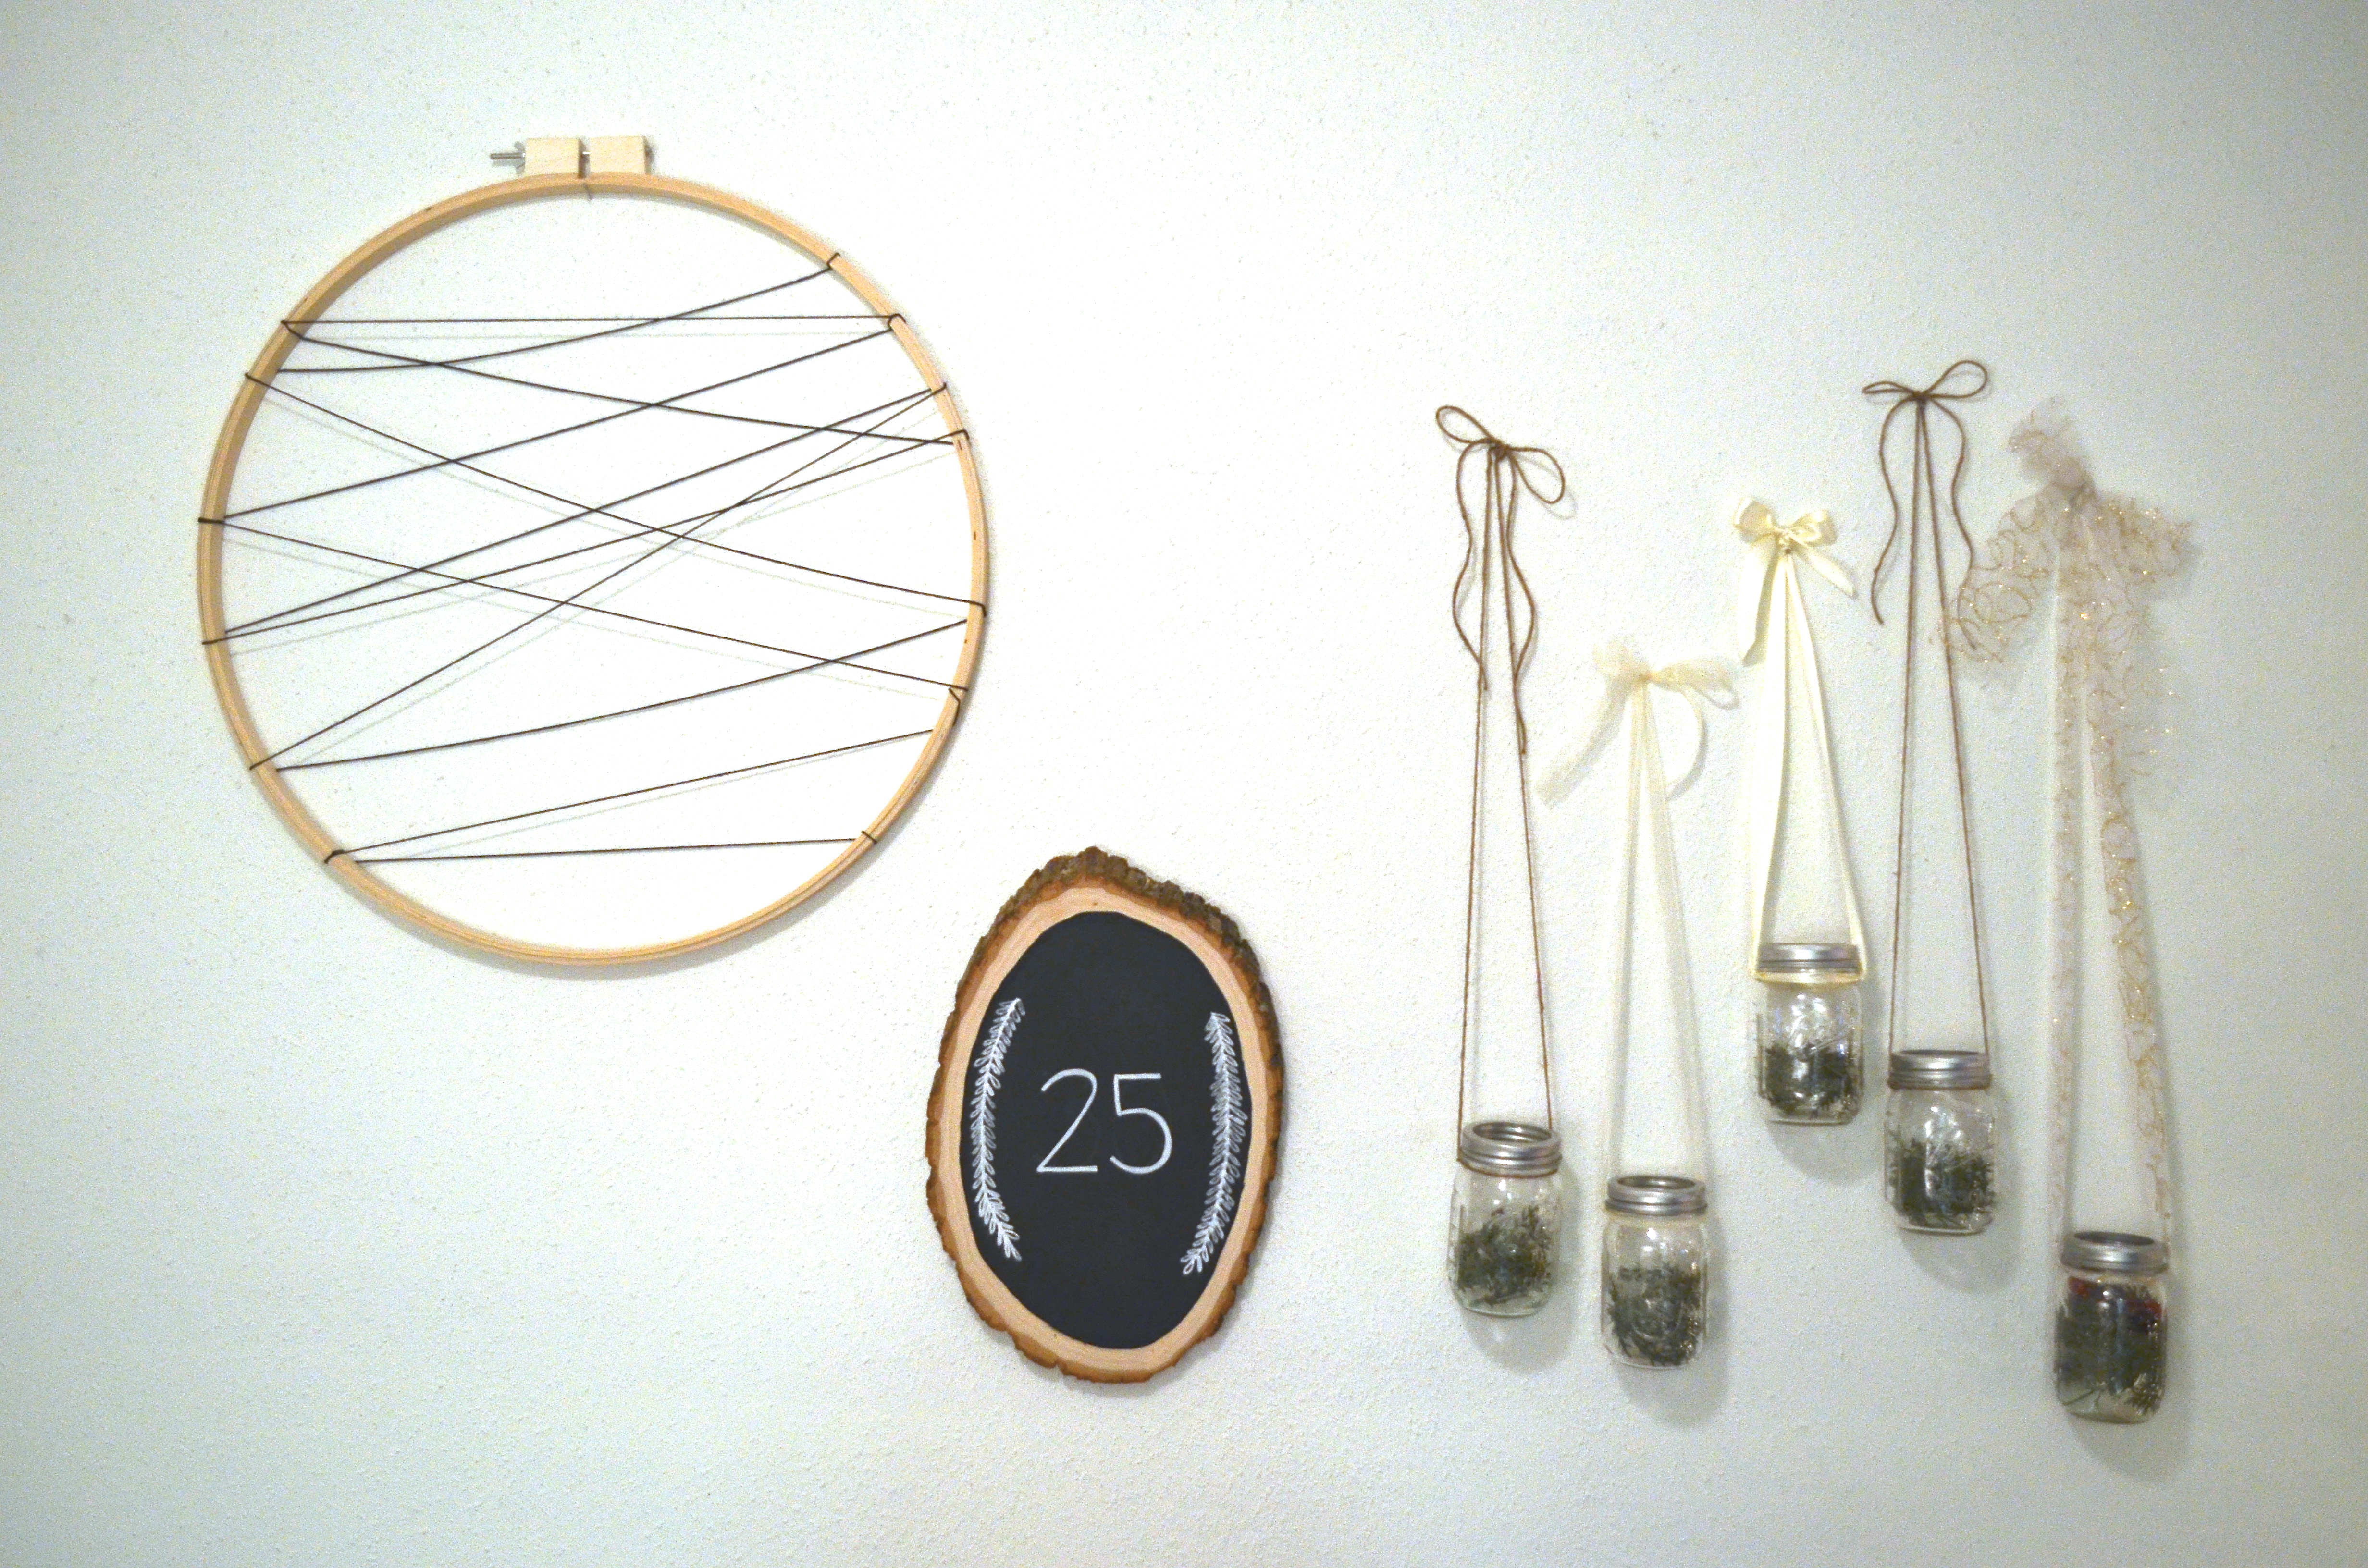
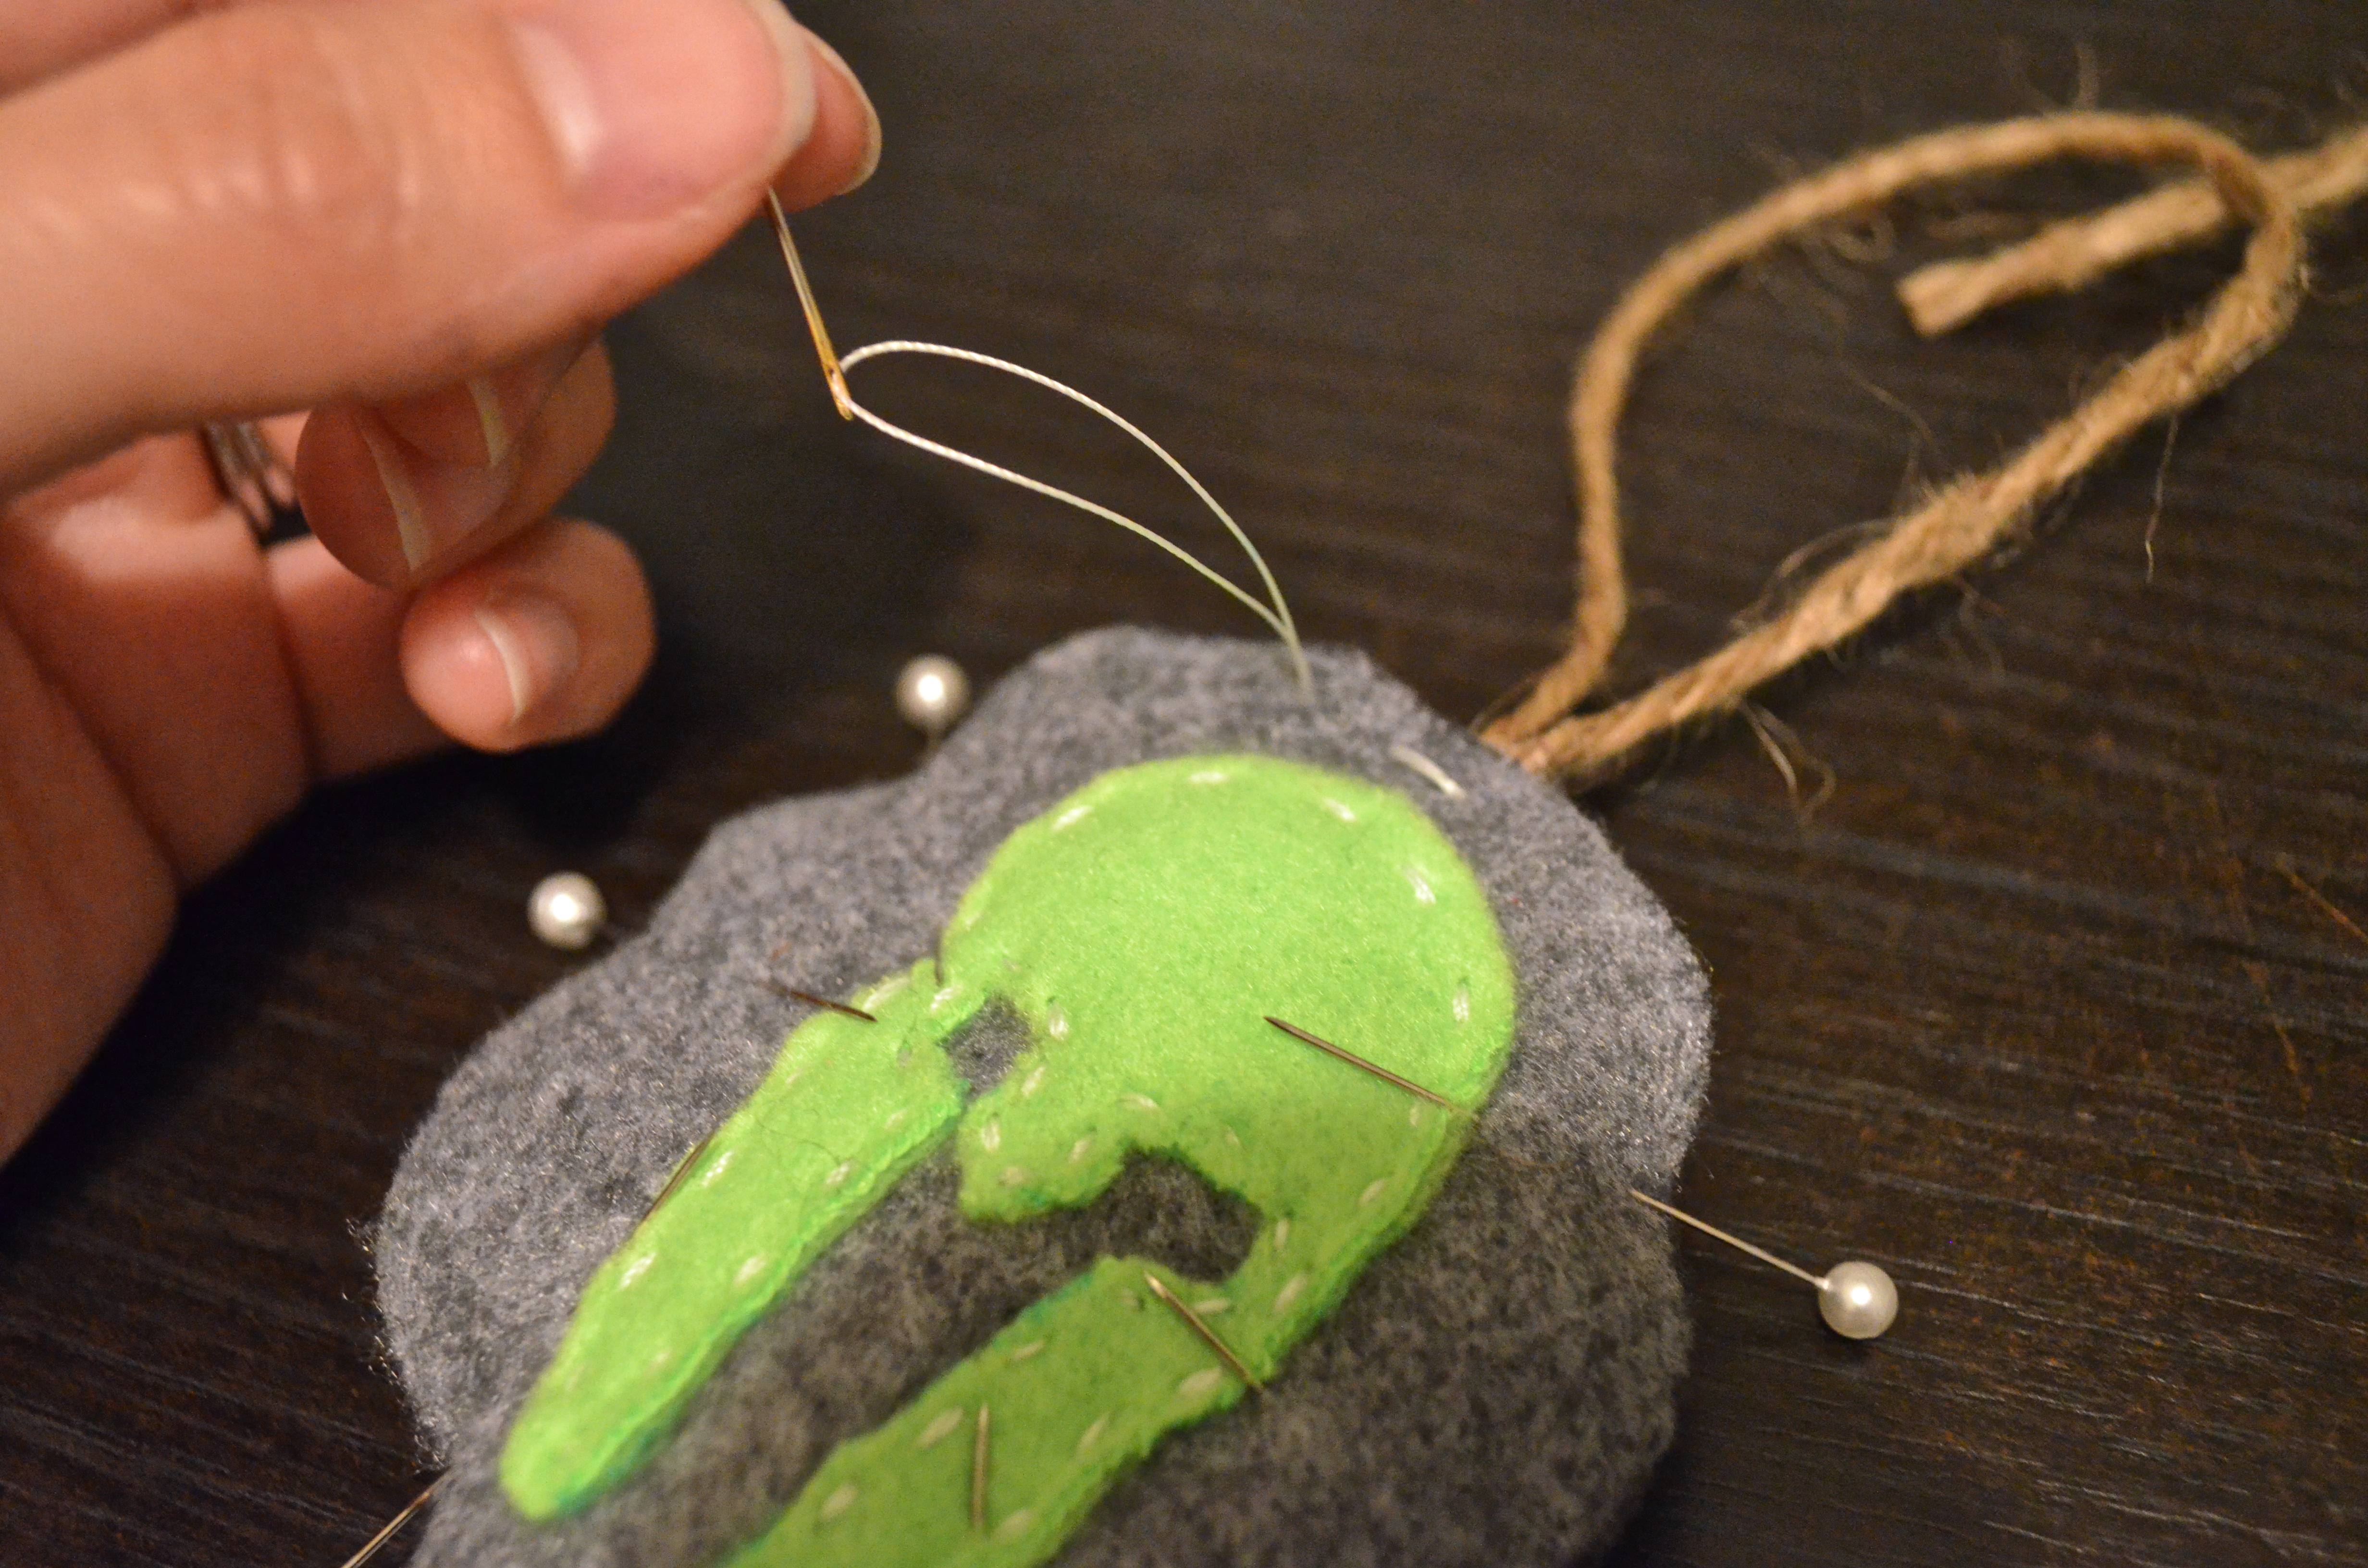
That embroidery hoop with the string is our Christmas card holder this year. :)

Lovin’ this little wall here. Also, we got our Christmas tree today! We are full on Christmas in this house. Let the holidays commence!

spring wreath

P1030319

It’s starting to warm up here in Houston. Anyone who’s lived in Houston for a good amount of time knows that the end of February/early March usually means “experience all four seasons in one week” time of year. Not exaggerating, we’ve had low 40’s-mid 80’s in the past 7 days. This morning was beautiful, and the hubs and I went on a short run to get out in it. Well, I am sad to see the cooler weather go, but I’m excited about the Spring, and I hung my Spring wreath yesterday in honor of the mid-70’s. :) This wreath was incredibly easy, so there’s a possibility that I might also make an “Easter” wreath when that time comes around. We shall see.

This wreath I made using an embroidery hoop for the base. It actually worked out well because the hoop I used had a pretty thick wooden side where the “collar” is. I hot glued the thick ends of the greenery I used onto that wooden collar, which just gave it a more secure hold.

I used twine to hang it, so I started out by hot gluing the twine to the hoop, wrapping it several times. The very last time I made a little knot through the top piece so that the end would be secure and in the middle of the hoop’s width.

P1030289

Next, I simply hot glued the main stem of the greenery onto the hoop. I didn’t glue any of the other stems branching off of the main one because I wanted it to be loose and flowy. It’s not very heavy, so I’m not too worried about the hold.

P1030294

As I said before, I glued the thick parts of the “branches” onto the collar of the hoop, ensuring extra hold.

P1030297

Now, for the flowers, since I made them on floral wire (using this tutorial), I simply wrapped the wire around the hoop, no hot glue involved. I did this on purpose because I might want to use these flowers again for another project. Easy to put on, and easy to take back off.

P1030298

That’s it! This wreath is so easy and customizable. Since the flowers are not permanent, I might even add more colors or different kinds of flowers. Who knows… it mostly depends on how busy the next few weekends are. :)

P1030317

Hope you enjoy this weather (if you’re in the south), and have a great weekend! Learn something new today. :)

arts & crafts

P1030154

This weekend I got to hang out with one of my dear friends, Julielle (check out her website!). She is prepping for an art show she’ll be hosting in March, and she’s working tirelessly to get some fantastic art finished and available for purchase. If you are in Houston that weekend you should most definitely attend. It’s going to be a fabulous event, and there will be snacks and live music, and of course, great art! You can find all the details here.

P1030149

While Julielle was working on her art, I worked on some paper flowers that I’m going to use on my Spring wreath. These things have taken me so much longer than I think they should have, haha. I’m kind of a perfectionist, so naturally, everything takes me a bit longer than it probably should. I now have 9 of them finished, and seeing how I won’t be hanging a Spring wreath for a couple more weeks, they are on my kitchen table in a mason jar, doubling as a Valentine’s bouquet. Kinda convenient.

P1030136

I got the tutorial for these super cute anemones here. The blog also has a few other different kinds of flower tutorials, so I might try out more types and mix them together for the wreath. I’ll post a pic once it’s finished. :)

I hope you have a wonderful Valentine’s Day! The hubs and I are going camping this weekend, so you can count on pics from our trip on the blog next week. Stay warm, and get your craft on!

scarf camera strap tutorial (DIY)

DSC_0545

This weekend I had the thought to make a strap for my camera. I have some fabric that I could work with, but then I remembered that I had this gift card to Charming Charlie that expired on Jan 31. My hubs bought some Christmas gift cards for family members from that store, and because he spent a certain amount, they gave us a free $10 gift card. I’m not one to wear jewelry… it’s not that I don’t like it, I just always forget about it and it’s seems to me a tedious thing to keep up with, so buying jewelry is kind of just wasting money, as it will sit nicely in my jewelry box and rarely get used. I ventured in anyway, and lucky for me they also sell scarves! I then thought, “hmm… camera strap made out of a scarf.” Thanks, Charlie, for the free strap!

Confession: I’m generally a rule follower in most areas of life, but every once in a while I like to do things on a whim. When it comes to patterns, I get frustrated pretty quickly with all the rules and measurements, so I kind of don’t follow them, and just try to figure out what I’m doing as I’m going. For all you anti-pattern friends of mine, here’s a little tutorial if you’d like to try it out yourself.

What you’ll need: scarf, heavy thread, scrap of leather, 2 swivel fasteners, thick leather needle, thimble, and if the hooks are too big for your camera, small keychain type loops to connect the fasteners to the camera.

P1030114


First start out by measuring the length of your scarf. I compared it to the strap that came with my camera, which ended up being about 42in. You can make it shorter or longer depending on the desired length of your strap.

DSC_0516


Next, measure the length of the inside of your swivel fastener (not the outside, or else the leather won’t fit right). Draw the shape you want your leather to be, and trace it onto the leather twice, mirroring itself, with the small sides touching. The small side will be the length of the inside of the fastener you just measured. Then, cut the leather pieces out.


P1030115


P1030117


DSC_0523


Note: I’m gonna be straight here… hand-sewing leather is one of the most unpredictably difficult things ever. I broke a thick, leather needle in half, people. Broke it in half. If you have a sewing machine that can handle leather, that is so much better. But if you don’t, I just want you to know going into this project that it will take a long while, and you might stab yourself a lot and have sore fingers by the end of it. I got through half of a Lord of the Rings movie before I was done. Yep.

Next, insert the leather pieces through the fastener hoops and fold them in half. Bunch up the scarf ends, lay them in between the two sides of the leather, and pin in place.

P1030124


Sew around the edges first, forming a square, and then stitch and X shape in the middle for extra hold.

P1030129


P1030131


And that’s it! You’ve now got yourself a super cute, super easy (besides the leather madness), customized, handmade scarf strap!

DSC_0543

Don’t forget to share if you give it a try!

spartan ornament how to (DIY)

DSC_0193

My hubs wants to start this new tradition of collecting ornaments – one for each year – to represent that year of our marriage. I thought it was a great idea, but I have a hard time buying ornaments because I don’t like most of them, haha. I’ve also already mentioned in the last post that I have an issue with buying things I feel like I could make. So, I got inspired last night and decided to stitch a little ornament for this year. And what better ornament to make than a Spartan one to represent our great accomplishment in finishing the Beast in December!

You can do this with pretty much any logo or design you want, so I’ve decided to make a tutorial out of it if you’d like to give it a shot! It’s soooo easy. Even if you don’t sew I’m confident you can make this.

I made this ornament out of felt and a thick, upholstery thread (also a short piece of twine and a little cotton batting). I used a thick thread simply because I like the way it looks (you can see it well when you look at the ornament). It also worked out well because it didn’t break when I got to the hot glue part. I’ll explain that later.

First, cut out your materials. I printed out the Spartan Race logo and cut it to use it as a stencil. I printed several different sizes of the logo onto the same piece of paper so I’d have a few sizes to choose from.

DSC_0165

Next, I stitched the logo onto the top circle. I used a basic stitch. You don’t have to worry about securing it much because it’s very light and it’s not really going anywhere.

DSC_0174

Then, place the cotton batting in between both circles, and pin it together around the edges. Leave a space on top to insert the twine. Once that’s done, secure the twine with a dab of hot glue in between the two circles. This will harden, so you’ll need a stronger needle to thread through the top (this is where the thick thread comes in handy).

DSC_0178

DSC_0181

After the twine is secured, simply stitch around the edge of the circle, removing the pins as you go. I started at the top (where the hot glue is hardened). And voila, you have yourself an awesomely easy DIY ornament!

DSC_0183

P1030022

If you try out your own ornament, don’t forget to share! Enjoy this beautiful weekend, and go do something fun!

create today

(this awesome piece of inspiration can be purchased here)

Despite my desire to be super artsy and awesome, the 3 things I’m the worst at are illustration (by far taking the lead in things I’m bad at), painting, and song writing (poetry could also fall into this category). The first and the third I don’t even attempt anymore because I’m that bad, and instead support local artists and my artistic friends who are awesome in those things by purchasing their work. The second (painting) I only do for fun because I enjoy it (even though I would never choose to hang any of my work). Why am I telling you about my sad lack of talent in these mediums? Because I believe it’s important to express yourself through art, whether you’re good at it or not. Find something you love that requires creativity, and do it. Often. We are all artists; don’t let anyone tell you differently. I think it can be discouraging if you have super creative friends (honestly, a handfull of my friends and family are so creative that I don’t even think we see the world the same way). Not to mention the world of Pinterest… if browsing Pinterest projects don’t make you feel like you’re wasting your life with your feeble attempts in crafting, I don’t know what will. Even if you’re the most linear thinker on this planet, you’re an artist (not everyone can think as strategically as you, and that’s artistic!). It takes creativity to do everything we do.

Why is creativity so important? Because God is creative. He’s the most creative, actually. He made everything we see (including us) out of nothing! Try to one-up that one. And because He made us in His image, that means that we are also creative, and I believe it delights Him when we replicate His creativity in things that we make.

So, here’s your challenge today. Make something. Make something whether it’s good or not, and be ok with that! Not all art that professional artists make is something they love. I have lots of friends who trash a lot of their work. I dare you to do it and come back and tell me it didn’t inspire you in other areas of your life. :)

– Tiffany